
- سبتمبر 1, 2026
- Posted by: asmaa
- Category: Uncategorized
Stylish Kitchen Design Ideas That Transform How You Cook and Gather
Kitchen design is the thoughtful art of shaping a space so it genuinely works for the way you live, cooking, gather, and move. By balancing layout, storage, lighting, and materials with your daily habits, it turns a room into a calm, functional hub where everything feels within reach. The real value lies in reducing everyday friction—less clutter, fewer wasted steps, and a space that supports both quick meals and long conversations. Designing around your real routines ensures the kitchen feels less like a project and more like a natural extension of your home.
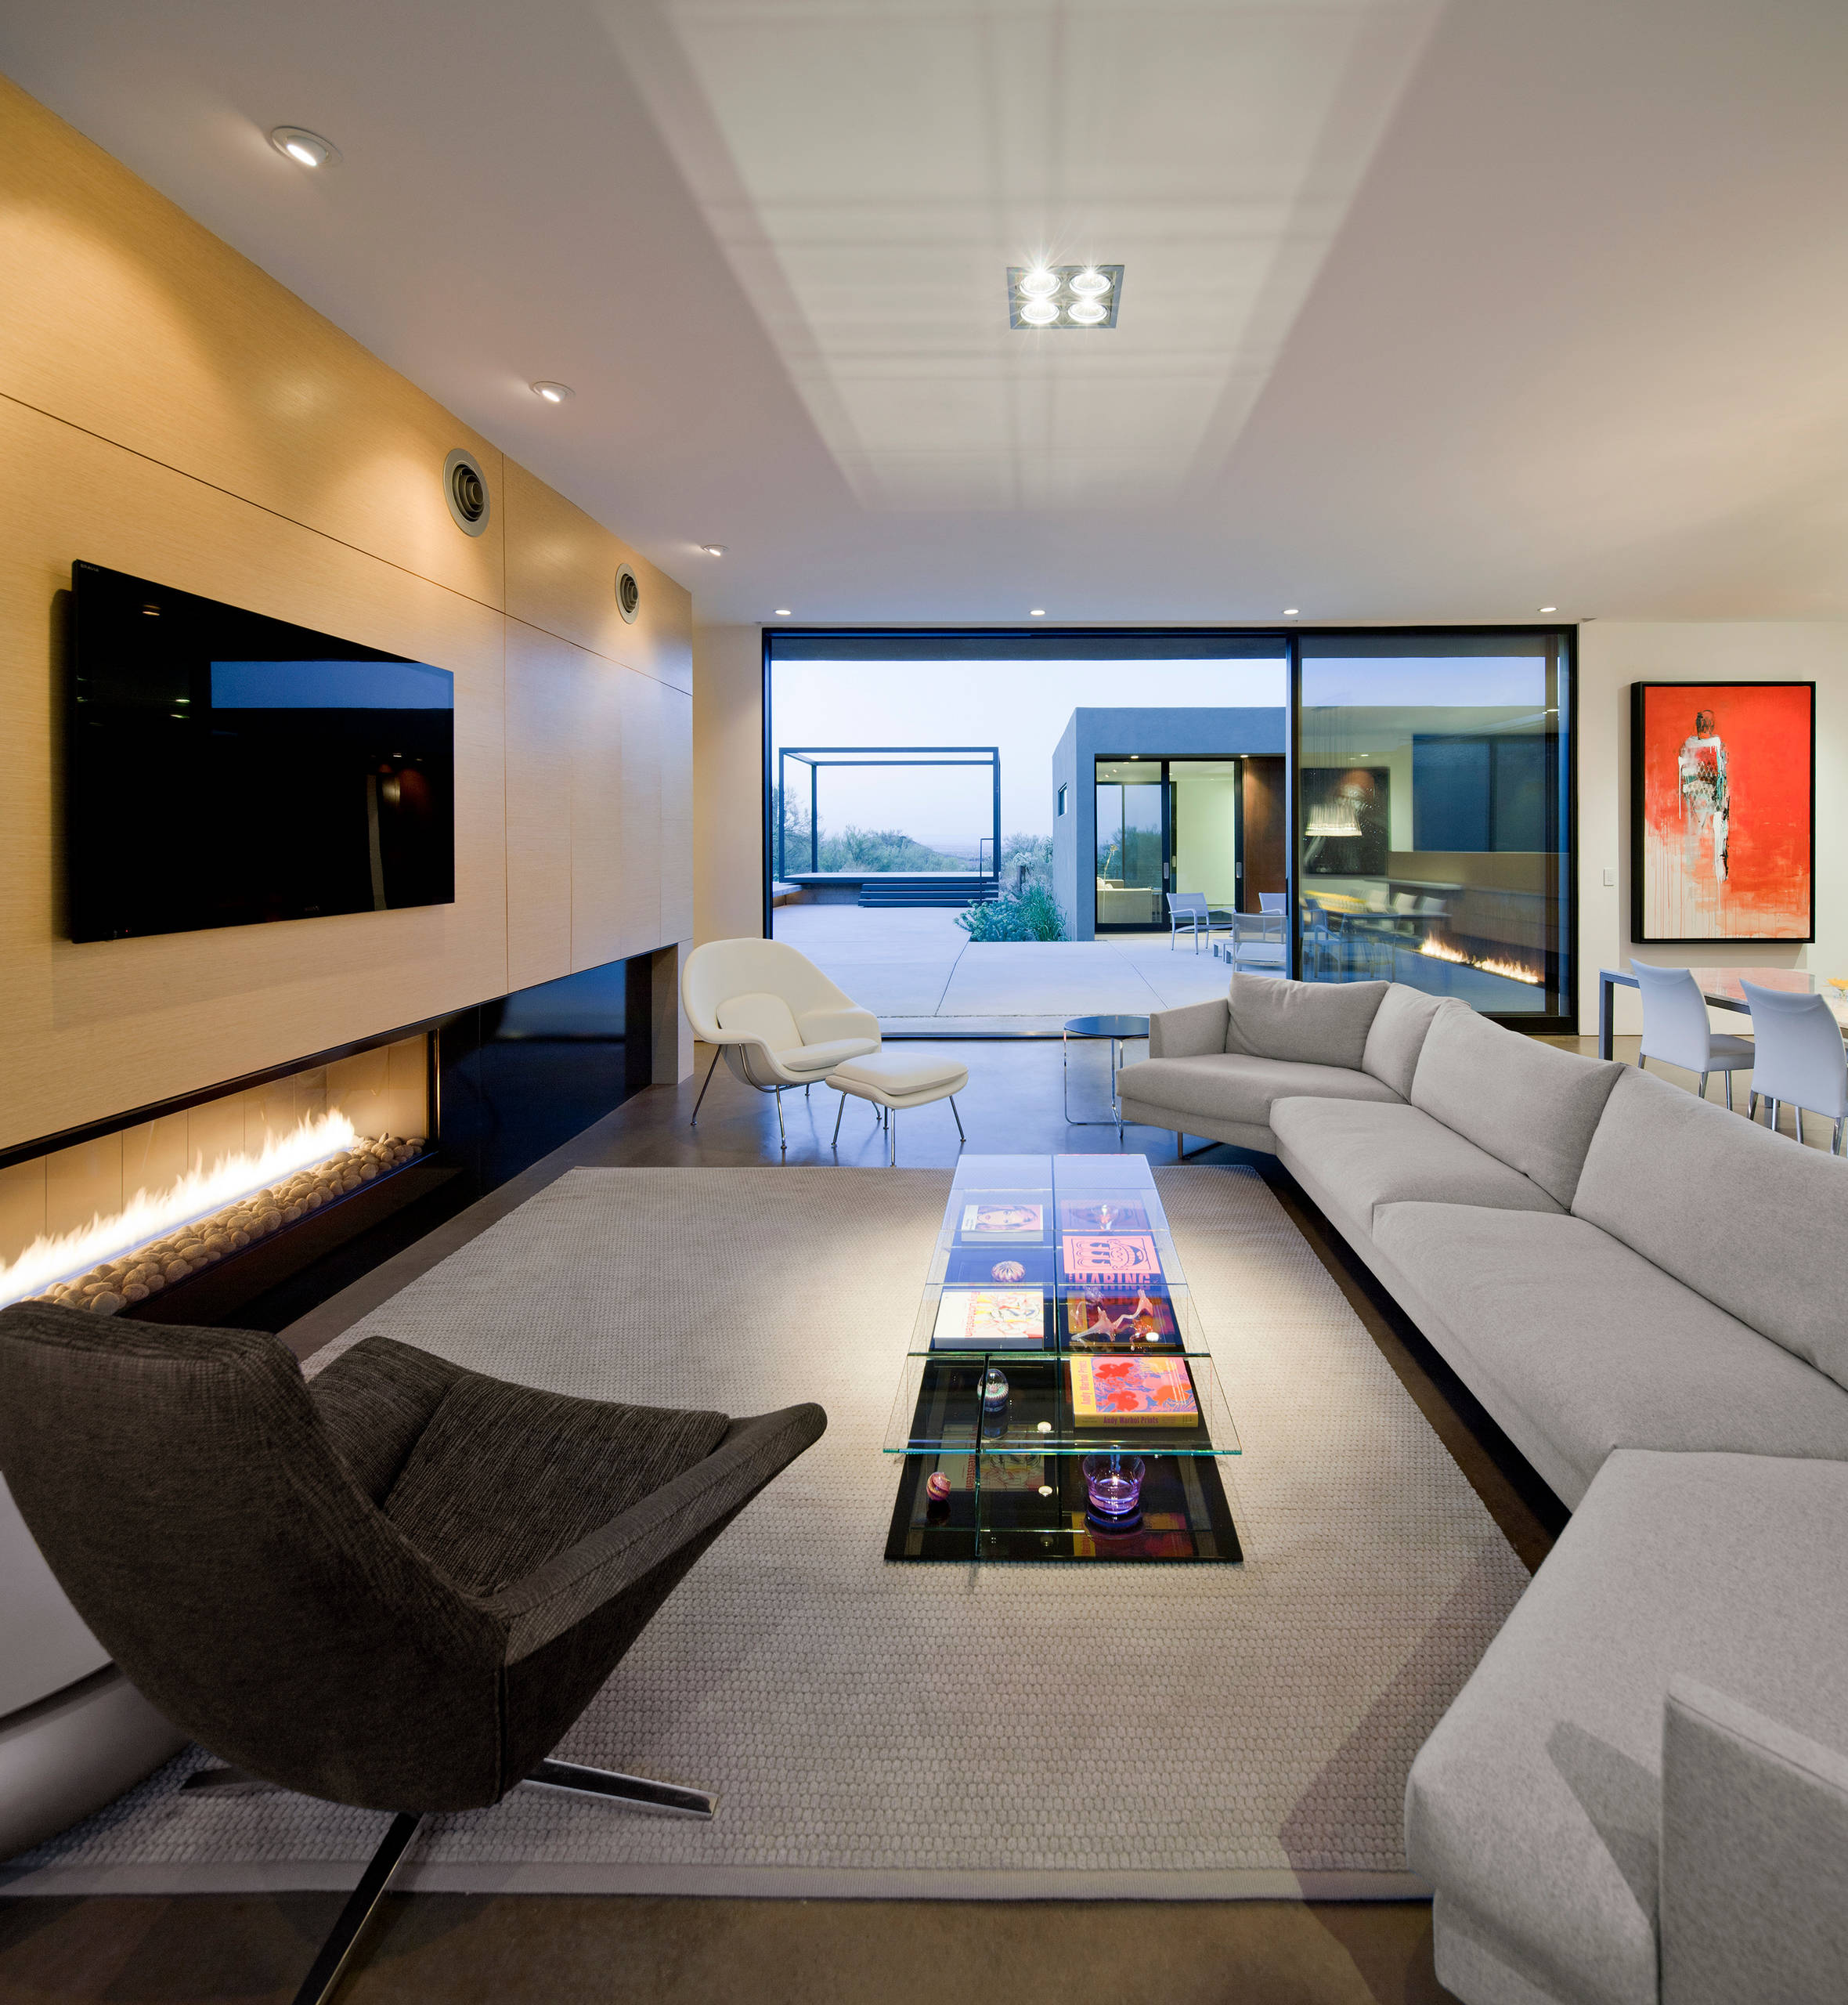
What Are the Core Zones Every Functional Kitchen Layout Needs?
A functional kitchen layout hinges on five core zones that streamline how you cook. First, the storage zone covers pantries and cabinets for dry goods and tools. Next, the prep zone needs counter space near the sink for chopping and mixing. The cooking zone centers on the stove and oven, with heatproof surfaces on either side. The cleaning zone wraps around the sink and dishwasher, sharing space with waste bins. Finally, the consumables zone holds the fridge and frequently used items like coffee or snacks. A quick Q&A: How do you avoid cross-traffic between zones? Place the sink, stove, and fridge in a tight triangle, keeping walkways clear so you don’t zigzag mid-meal. Position zones in the order you naturally work—unpack, prep, cook, serve—to move smoothly.
Mapping the Work Triangle for Effortless Movement
The work triangle links the sink, cooktop, and refrigerator, and mapping the work triangle for effortless movement begins by placing these three points no more than 26 total feet apart, with each leg between four and nine feet. Avoid crossing the triangle with major foot traffic or an island’s edge, as that interrupts flow. Position the sink at the triangle’s apex, between the cooking and cold-storage zones, to shorten prep paths. *Even a two-foot offset in the refrigerator’s door swing can add dozens of wasted steps daily, so hinge the door away from the triangle’s central path.* Keep countertops clear along each leg to allow direct, unbroken travel.
Effortless movement depends on tight, unobstructed triangle legs that never intersect circulation routes.
The Hidden Power of a Prep-to-Clean Workflow
The hidden power of a prep-to-clean workflow lies in its ability to transform a kitchen from a static collection of zones into a dynamic, fatigue-reducing system. By sequencing movement from sink to prep surface to cooktop, and finally to the clean-up station, you eliminate the cross-traffic chaos that plagues poorly planned layouts. This linear logic ensures that soiled tools travel directly to the wash zone without contaminating fresh ingredients or cluttering your primary work triangle. The real gain is cognitive: your body anticipates each step, so you never pause to re-orient mid-task. Ultimately, this flow compresses meal time and accelerates post-dinner reset, making a prep-to-clean workflow the quiet engine of daily kitchen efficiency.
How Do You Match a Layout Style to Your Daily Cooking Habits?
Match your layout to the way you actually move, not to a magazine ideal. If you cook elaborate meals daily, a large U-shaped kitchen with two work triangles keeps prep, cook, and plating zones separate, so you never cross your own path. For quick weekday meals, a galley layout with parallel counters minimizes steps, placing the sink, stove, and fridge within a single efficient span. If you entertain while cooking, an L-shape with a wide opening to the dining area lets you face guests without turning your back on the pan. Choose an island only if you truly use it for chopping or serving, not as a catch-all—otherwise it becomes a barrier. Your daily breakfast habit dictates everything: a dedicated counter for coffee and toast saves five minutes every morning. The honest test is whether you can grab a spoon, a pan, and a spice jar without bending, stretching, or stepping around a corner.
Galley vs. L-Shaped: Which One Saves You More Steps?
A galley layout minimizes steps by placing the sink, cooktop, and refrigerator along two parallel walls, creating a direct work triangle that rarely exceeds a few strides. An L-shaped design, while open and sociable, forces longer travel distances between zones, especially if the counter wraps around a corner. For daily cooking, a galley saves more steps because every pivot keeps ingredients, prep space, and heat within arm’s reach. The L-shape offers better flow for multi-cook scenarios, but its efficiency drops when you constantly cross the open leg. *If you cook solo and move rapidly between tasks, the galley’s compact corridor trims minutes from every meal.* Choose galley for speed; choose L-shape only when counter sprawl matters more than step count.
Is an Island a Luxury or a Necessity for Your Space?

An island shifts from luxury to necessity the moment your daily cooking routine demands a continuous prep zone that a perimeter counter can’t provide. If you chop, assemble, and plate in a straight line, a freestanding island adds critical staging area, but only if you have at least 42 inches of clear walkway around it. For a solo cook who reheats and stir-fries quickly, an island is pure luxury—it interrupts the efficient galley flow with extra steps. However, if you cook with a partner or batch-prep ingredients, the island becomes the indispensable hub that keeps both workstations active without collision. A necessity is defined by workflow, not square footage, so measure your actual prep sequence before committing to this expensive feature.
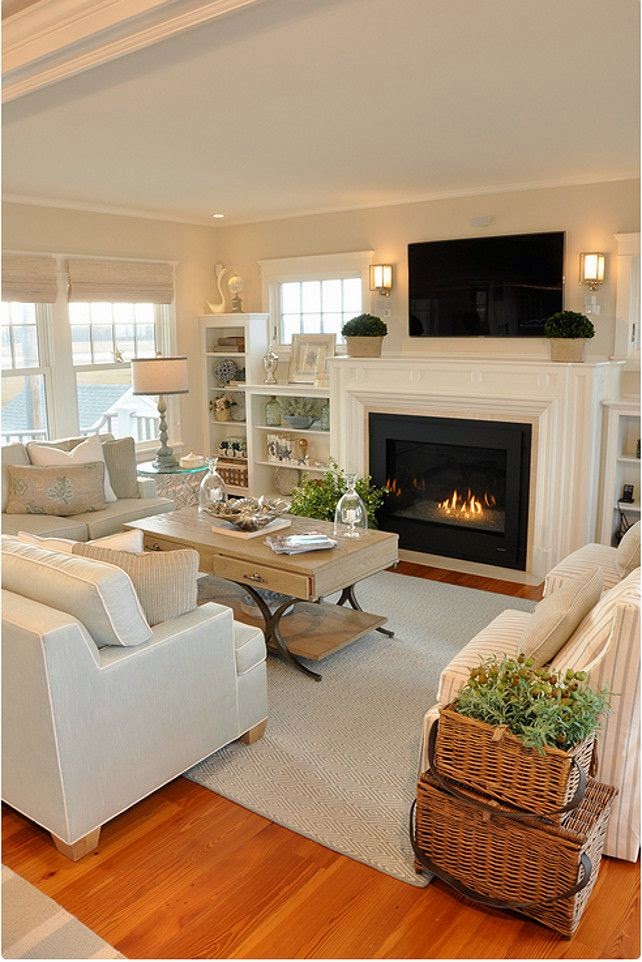
An island is a necessity when your cooking habits require simultaneous prep and social flow; otherwise, it remains a space-hungry luxury.
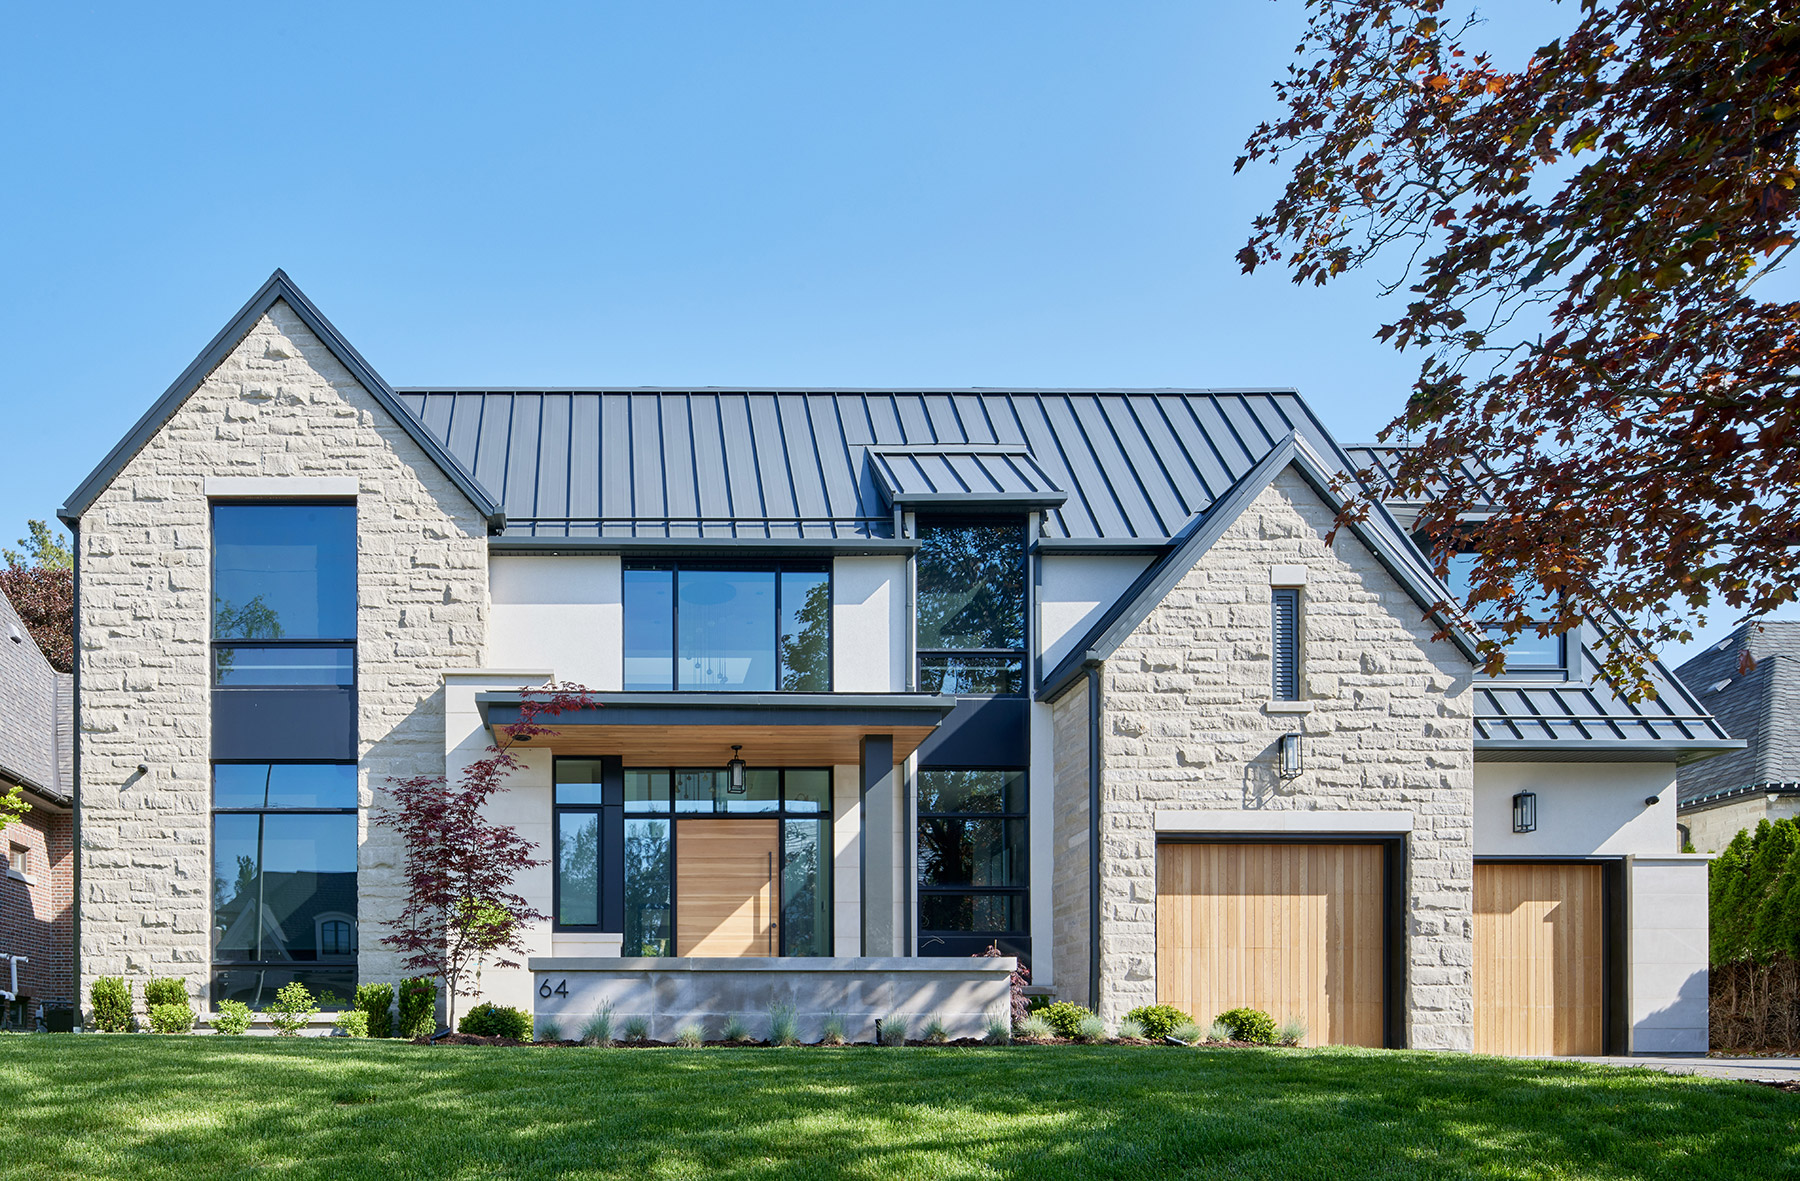
Which Materials Actually Stand Up to Heat, Spills, and Daily Wear?
For real-world kitchen design, **materials that stand up to heat, spills, and daily wear** come down to a few heavy hitters. Quartz countertops shrug off hot pans briefly and never need sealing, though a brutal thermal shock can crack them. Porcelain slab is the undisputed champ for heat; you can set a screaming-hot skillet straight down without worry, and it laughs off wine or tomato sauce. For backsplashes, glazed ceramic tile or solid sintered stone beats natural marble every time—no etch marks from lemon juice. On the floor, porcelain tile with a textured finish wins over polished stone for slip resistance and scratch tolerance. Avoid open-pored granite or soft limestone near the sink; they’ll soak up oil and stain fast. Stick with non-porous, dense surfaces, and your kitchen will look sharp for years.
Countertop Surfaces: Quartz, Butcher Block, or Porcelain?

Quartz offers superior stain and scratch resistance, but its resin binders can scorch or crack under sudden, extreme heat, so always use trivets. Butcher block withstands moderate heat well and is easily sanded down when damaged, yet it demands diligent oiling to prevent water rings and bacterial growth from spills. Porcelain slabs are the most thermally resilient, tolerating hot pans directly, and their non-porous surface shrugs off acidic spills and dyes. For daily wear, prioritize porcelain if you frequently cook with high heat; choose quartz for low-maintenance aesthetics; select butcher block only if you accept its upkeep. Heat-resistant porcelain countertops ultimately deliver the best balance of durability and practicality for active kitchens.
Cabinet Finishes That Resist Fingerprints and Fading
For cabinetry facing daily handling and sunlight, thermofoil and matte laminate finishes outperform most painted options. These non-porous surfaces repel oils and moisture, preventing fingerprint adhesion, while their UV-stable pigments resist yellowing or chalkiness near windows. Avoid glossy polyurethanes, which show smudges and degrade under direct light. If you prefer wood, specify a conversion varnish topcoat—it hardens into a barrier that blocks both hand acids and fading. For painted cabinetry, request a matte or satin sheen with added ceramic nanoparticles, as these reduce visible marks and scatter UV rays before they damage the color base. UV-resistant matte finishes are the most reliable choice for high-traffic kitchens, as they balance grease repellency with long-term color retention.
Do matte cabinet finishes really resist fingerprints better than glossy ones? Yes—matte surfaces scatter light, making oily residue less visible, and their slightly textured texture prevents full finger contact, unlike glossy finishes that trap prints in plain sight.
What Lighting Layers Turn a Kitchens from Drab to Functional?
A drab kitchen becomes a highly functional workspace through three deliberate lighting layers, each serving a distinct purpose. First, ambient lighting—whether recessed cans or a flush-mount fixture—provides overall illumination, eliminating harsh shadows and establishing a welcoming base. Second, task lighting is the true workhorse: under-cabinet LED strips or puck lights directly illuminate countertops, banishing the gloom where chopping and prepping occur, while a focused pendant over the sink or island ensures precision. Third, accent lighting, such as in-cabinet spotlights or a toe-kick glow, adds depth and visual interest, making the room feel larger and more polished. Skimping on the task layer is the most common—and most frustrating—mistake, as decorative fixtures can never compensate for poor visibility where you actually cook. Ultimately, layering these three types with separate dimmer switches gives you full control, transforming a flat, lifeless space into a responsive, efficient hub that adapts to every meal and mood. This strategic combination is the defining difference between a showroom and a truly usable kitchen.
Task Lighting Placement for Chopping and Stovetop Safety
Task lighting placement for chopping and stovetop safety demands shadow-free precision where blades meet produce. Mount under-cabinet puck lights slightly forward, not flush against the backsplash, so they illuminate the cutting board’s edge rather than the wall. For the stovetop, install a slim LED strip angled downward from the range hood’s underside; this beam must hit the rear burners directly, where pots block overhead light. Positioning a dimmable pendant over a kitchen island shifts the shadow as you lean, so always test with your dominant hand in place. The goal is eliminating glare on stainless steel while keeping the pan handles visible.
- Place under-cabinet fixtures 2–3 inches from the cabinet’s front edge to prevent your body from casting shadows on the board.
- Aim stovetop strips at divine home a 30-degree angle toward the back burners, never straight down, to avoid blinding steam reflection.
- Use separate switches for chopping zones and cooktop areas to adjust intensity during different prep stages.
Ambient and Accent Light Ideas to Showcase the Room’s Depth
To showcase your kitchen’s depth, skip the single overhead dome and blend ambient glow with targeted accent pops. Install dimmable recessed cans for a soft, even wash, then add accent lighting that visually pushes walls back—think slim LED strips under open shelving or glowing toe-kick tape that makes cabinets feel like they float. For real dimension, graze textured tiles or a brick backsplash with a linear wall washer at 30 degrees; the shadows create instant layers. Use puck lights inside glass-front cabinets to highlight dishes, and a low-wattage pendant over the sink to draw the eye into the far corner. The trick is contrast: brighter task zones recede, while darker coves make the room feel taller and wider.
Layer soft ambient pools with purposeful accent strips and wall grazing to sculpt shadows, making your kitchen feel larger and more dimensional.
Where Should You Put Storage to Eliminate Clutter for Good?
To eliminate kitchen clutter for good, storage must follow the workflow of cooking—positioning items at their first point of use. Place daily-use pots and pans in deep drawers directly beside the range, while keeping spices in a narrow pull-out rack within arm’s reach of the prep zone. Install vertical dividers inside cabinet doors for cutting boards and baking sheets, preventing stacked piles. Corral infrequent appliances, like mixers, on high shelves above the refrigerator or in a dedicated pantry closet, freeing counter space. Use the under-sink area with tiered racks for cleaning supplies, but reserve a shallow drawer near the sink for sponges and brushes. Assign one landing zone for keys and mail near the kitchen entry, using a wall-mounted shelf with hooks to prevent counter dumping. Integrate toe-kick drawers for rarely used items, such as holiday platters, to maximize otherwise dead space. Only by zoning storage around actual cooking habits—not generic categories—does the system hold up without constant re-sorting.
Vertical Pull-Outs vs. Deep Drawers: Best Zones for Pots and Pans
For heavy cookware, vertical pull-outs near the rangetop outperform deep drawers because they store pots upright, eliminating the need to lift stacked pieces. Deep drawers work best for shallow, frequently used pans like skillets in a base cabinet directly beside the oven, where sliding access suits their flat profile. Conversely, vertical pull-outs excel in narrow gaps (e.g., 12-inch spaces) for lids and sheet trays, while deep drawers fail there due to wasted height. Place vertical units for Dutch ovens within 24 inches of the cooktop, reserve deep drawers for saucepans under the cooktop itself, and keep rarely used stockpots in a vertical pull-out on the perimeter—never in a deep drawer, where they bury daily items.
- Vertical pull-outs: store lids and pots upright to prevent nesting and weight stacking.
- Deep drawers: optimal for shallow pans at knee height to avoid bending.
- Zone rule: assign vertical units to heavy, tall cookware; deep drawers to flat, light pieces.
- Use a deep drawer with dividers only if pot height stays under 6 inches.
Corner Solutions and Toe-Kick Drawers for Awkward Spaces
Awkward kitchen corners and wasted floor gaps are prime clutter magnets, and that’s where corner solutions and toe-kick drawers for awkward spaces truly shine. Instead of losing items in a dark Lazy Susan abyss, install a swing-out pantry or a blind-corner pull-out with tiered shelves—everything from pots to spices becomes instantly visible and reachable. Meanwhile, that shallow 4-inch gap under your base cabinets isn’t useless: toe-kick drawers slide out neatly for baking sheets, cutting boards, or rarely-used platters, keeping them out of sight but not buried. The trick is measuring every void before you commit, because custom sizing makes or breaks these clever storage hacks.
Q: Can toe-kick drawers truly hold heavy items like cast iron?
A: Yes, look for drawers with soft-close slides rated for 75+ pounds, and keep them shallow—they’re best for flat, slim gear, not deep pots.
What Are the Most Common Design Mistakes and How Do You Fix Them?
The biggest kitchen design mistake is skimping on the **work triangle**, leaving you zig-zagging between sink, stove, and fridge with zero counter space between them. Fix it by ensuring each zone has at least 15 inches of landing area. Another common trap is poor lighting—one lonely ceiling fixture creates harsh shadows on your prep zone. Layer under-cabinet task lights to solve this instantly. Don’t forget storage for small appliances; cramming them all on the counter makes the room feel chaotic. Build a dedicated appliance garage or a deep drawer. Finally, matching everything too perfectly looks flat. Mix finishes and textures for depth.
A functional kitchen isn’t about trends—it’s about moving through your morning coffee routine without bumping your hip on a cabinet handle.
Gauge Clearance Widths Before You Finalize the Floor Plan
Finalizing a kitchen floor plan without verifying clearance widths is a primary source of functional failure. Standard walkway clearance should be a minimum of 36 inches, while work aisles between appliances and counters require 42 to 48 inches for comfortable door swing and drawer access. Measure the actual distance between counter edges, islands, and appliance faces once placed, not just the room’s raw dimensions. Overlooking the depth of a refrigerator or a peninsular overhang will shrink the effective pass-through to a cramped, unsafe width. Before committing to a layout, trace every appliance’s open door and a human’s load-bearing path to confirm no bottleneck occurs at high-traffic junctions.
Q: What is the single most overlooked clearance issue in a kitchen plan?
A: Failing to account for the appliance door swing intruding into the main traffic lane—a dishwasher or oven door open at 90 degrees must not reduce the adjacent walkway below its minimum required width.
Choosing the Wrong Ventilation or Appliance Swing Direction
Placing a range hood flush against a wall while the cooktop sits at a转角 forces downdraft systems to fight cross-breezes, making appliance swing direction errors a silent workflow killer. A refrigerator door that arcs into a blind corner traps you mid-step, while an oven handle opening toward a pantry hinge turns loading a sheet tray into a contortion act. Fix this by mapping every open door’s radius with painter’s tape before committing. Swap the hinge side on refrigerators so it meets the counter’s edge, and mount vent controls on the outermost face—not the back—to prevent reaching across hot burners. For islands, angle the exhaust duct at 45 degrees away from seating, and always test a full 180-degree swing with a stock pot in hand.